Making your own charcoal is incredibly easy.
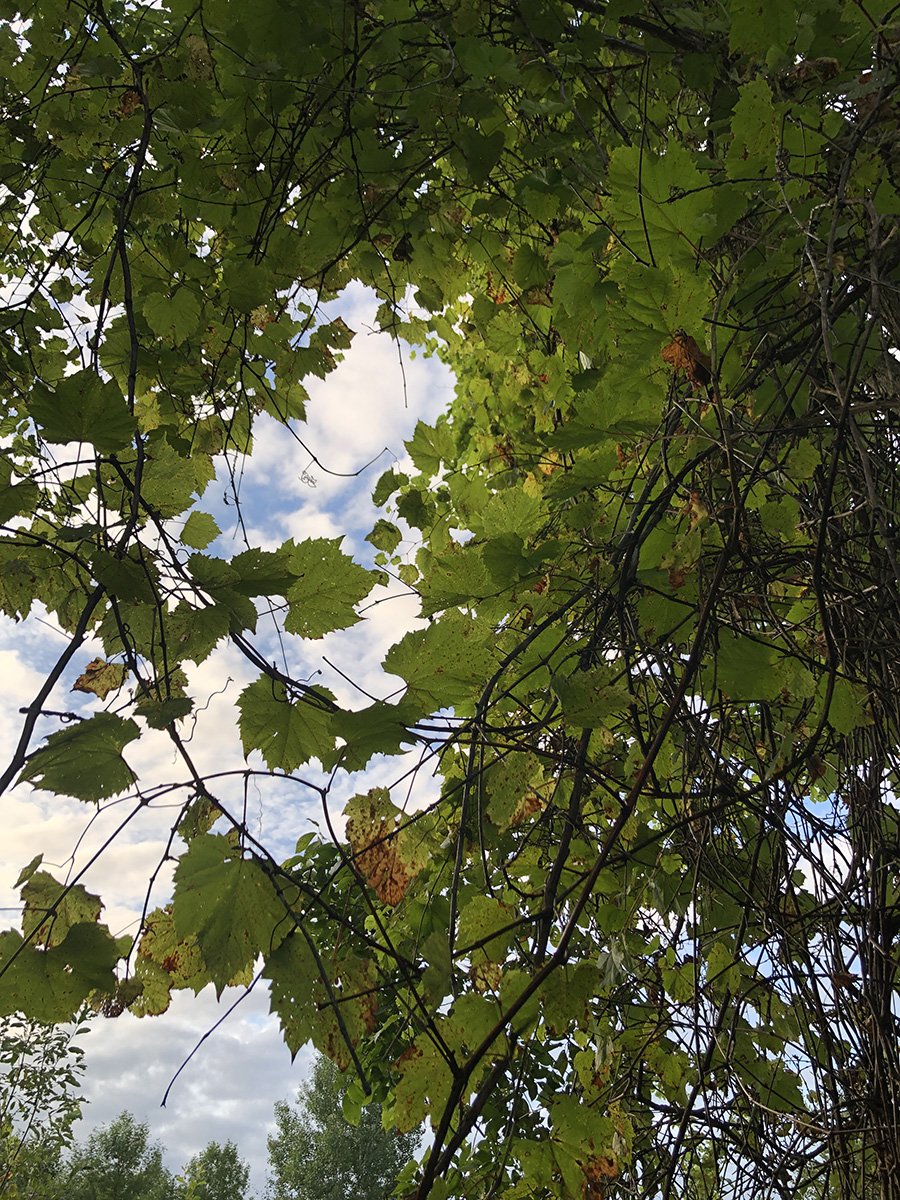
All you have to do is find some vines—grape is my vine of choice. Step out on an urban path, or hike through the woods, or maybe even rummage in your own backyard. Slim willow branches work well too.
I use wild grape (see photo below). It’s everywhere in central Ontario.

The steps:
- Cut the vine into segments to fit in your tin
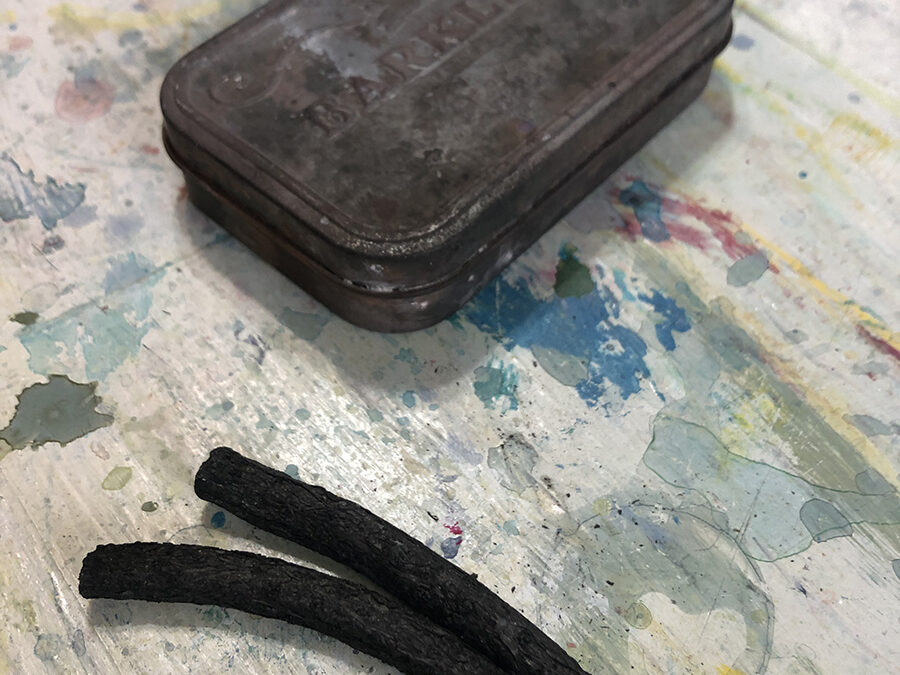
- Put it in a tin (I use a mint tin)
- Put the tin in a fire (woodstove, fireplace, firepit)
- Wait an hour
- Remove from fire with tongs
- WAIT for it to cool
- Voilà, charcoal!
That’s all there is to it.
If you’re doing fine drawings with charcoal, the homemade stuff might not work for you. You might prefer something smoother and a bit more predictable. But if you’re into making scribbly marks on paper or canvas, I highly recommend it. The stuff I’ve made is a bit grainy and really bites in to the substrate a little. The marks are dark and gutsy.
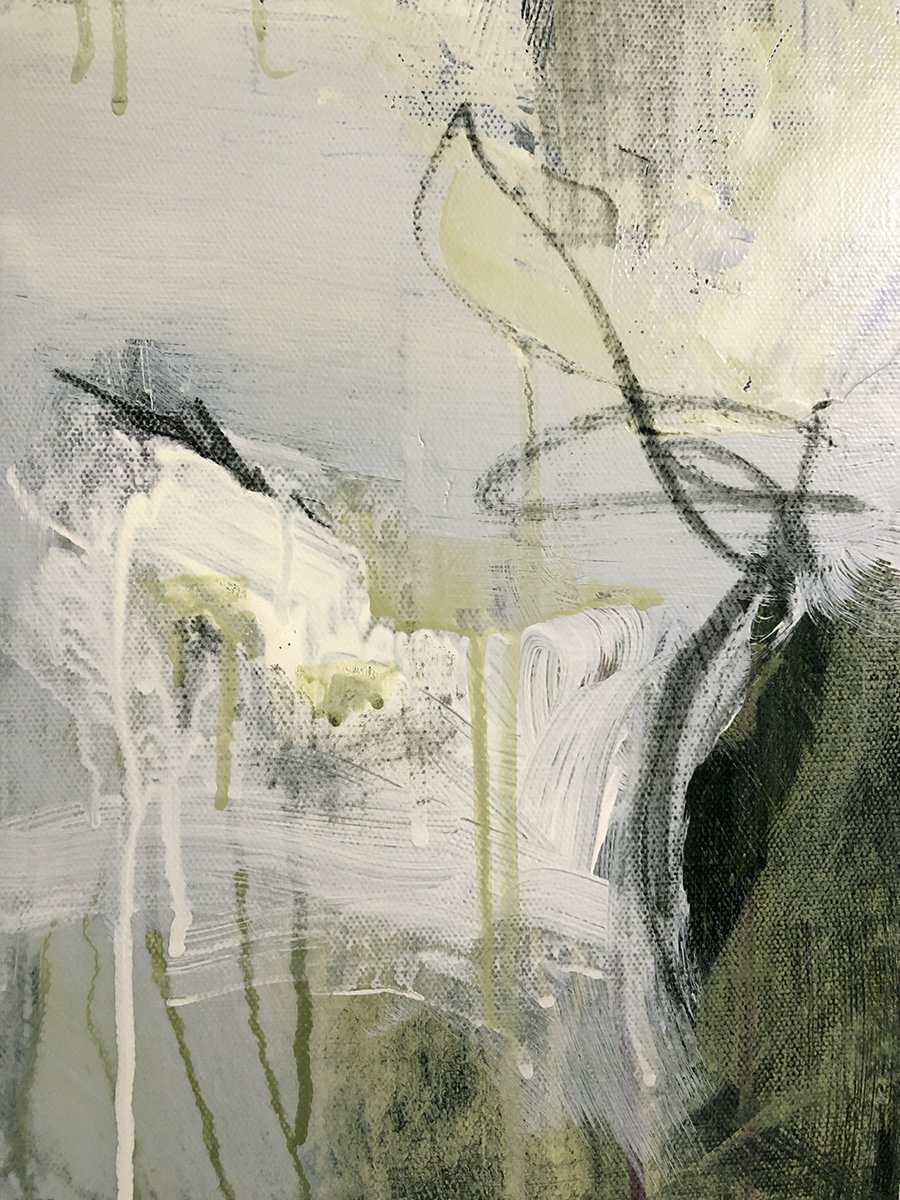
On an acrylic painting I spray the charcoal with pastel fixative then put a coat of liquid gloss medium over top. I haven’t had any issues with blurring if I do that. You can see my scribbles on the painting below.

This could be a cool project to share with older kids: a little foraging, an hour by a fire, then messy black marks and charcoal dust everywhere. Hmmm, depends on the kids I suppose—and your tolerance for mess!
Anyway, give it a whirl and see if you like it. Different woods or vines might give you different results. I’ve stuck with grape, just because it’s plentiful. If you try another wood or vine, let me know how it turns out.
Stay in touch
Sign up for first access to new work
(and never miss a blog post)

I had no idea we could make our own, Lindsay. I will most definately try this.
I hope you do!