Why did I want to try oil paint?
Curiosity: oil is an important material I’ve never tried at all—which seemed like a major oversight, or gap in my art experience.
Frustration: I have lots of great things to say about acrylics, but there are downsides—waste water disposal issues, plasticky texture, colour shift from wet to dry.
Oil pastels: last year I did some oil pastel work on paper—the rich colour, no colour shift, the creamy greasy texture made me wonder even more about oil.
Lineage: with oil there’s a sense of connection to centuries of painters that came before. Acrylic paint only dates back to 1940s and 50s.
Self-portraits: oil seems more conducive to doing portraits because it allows more time to work and blend.
Plein air: I’d like to paint outside, but acrylic dries so quickly, and the need to manage dirty water gets complicated.
Solvents: I found out you don’t have to use solvents. The smell and toxicity had been a deterrent, especially since my studio is in my home.
Getting ready
I read and reread The New Oil Painting: Your essential guide to materials and safe practices by Kimberly Brooks. She provides basic guidelines, both about materials you need to paint solvent-free and also some guidance about oil painting more generally. While solvents are the standard way to thin oil paint, there are other ways to do it. Apparently the solvent thing only really took off in the 19th century. If smell and toxicity are holding you back, this book might be worth a look.
I had some idea of the materials I needed from the book. Plus I did a ton of online research.
When it comes to something new you’re never ready, but one day during post-Christmas sales I closed by eyes and hit the BUY button.
What I bought
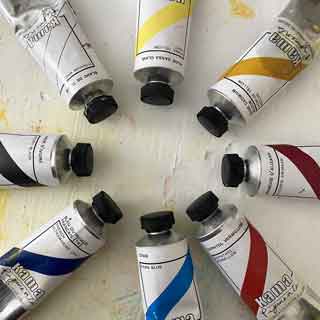
Paint: I chose Kama oil paint, a Canadian company based in Montreal, high quality but reasonably priced. I bought a basic 3 colour palette (3 cool, 3 warm) plus white and black. Of course, there are many different brands that make excellent artist grade paint.
Brushes: you need a separate set for oils, and you want stiffer brushes, generally speaking. I chose decent quality artist brushes, but nothing spectacular. I didn’t want to spend a ton of money before I figure out what I like.
Oils: linseed and walnut oils (as medium, for cleaning brushes). Actually, I “borrowed” walnut oil from my woodworking husband.
Marble dust: chalk, silica or calcium carbonate (marble) mixed with oil is a medium you can use to thin or bulk up paint, depending on how you mix it. This is a central thing in Kimberly Brooks’ approach to solvent-free painting. Apparently Rembrandt and Velasquez did it, among others.
Substrate: I bought a canvas pad to start out. Oil painting paper would be another economical option for early experiments.
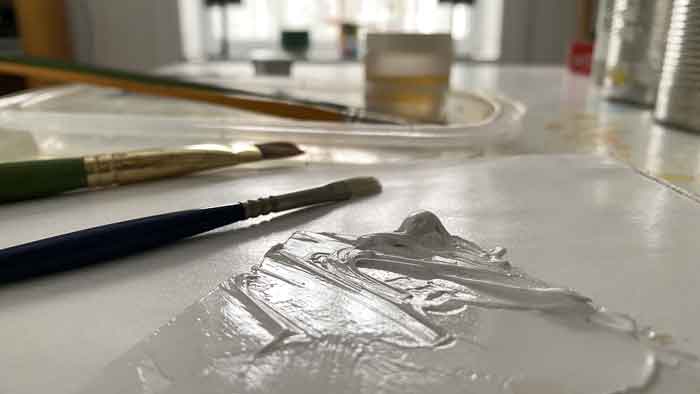
Palette: I’m just using palette paper for now.

My very first experiments
In a fit of I don’t know what, my first efforts with oil were portraits. It was sort of a two birds with one stone strategy. I’ve been wanting to do a series of self-portraits since I started painting seriously. And I figured I might as well paint something new as well. I thought it might be frustrating if I tried to do what I normally do (abstracted landscapes) and I wasn’t able to proceed as usual. I haven’t done many portraits, so I have no habits to break or acrylic-specific techniques I rely on.
I tend to throw myself off the deep end as a general life strategy, so while there’s some sound logic in my approach, it may not work for everyone.
It was hard, it was horrible, and it was thrilling!
It was hard: because I had no habits, no idea where to put my brush even, nothing was handy, the paint was weird, I had all these things in my head (dark to light, fat over lean). I wasn’t sure I had the right brush for the job. How much paint, too much, not enough, my palette was too small, I’m too messy, too much thinking, etc.
It was horrible: well, it sure as hell wasn’t relaxing! The results were intriguing at best. I was in such a rush to get to the paint, that I went rather fast with the sketching part. Let’s just say the proportions were off and leave it there. There was also no way I was going to wait for anything to dry. I was too damn excited.
A tonal exercise would probably have been a wise choice for my first portrait, but I wanted to try all my colours so there were yellows and violets, reds, electric greens (!). Picture an unappealing cross between Van Gogh’s La Berceuse and a garden troll and you’ll have some idea. You will never see these efforts—never.
It was thrilling: everything was new, literally everything! The smell (more like cooking than painting), the texture (thick, oily, weird), nothing dried while I was working (which is both horrible and rife with possibility), the ease of blending. As you can probably gather, my mind was spinning and my senses were thrilled.
Obviously it’s way too soon to draw any meaningful conclusions. My materials need some finessing. My setup will evolve. Once I slow down a bit the sketches (and hopefully the paintings) will improve.
Thoughts for the future
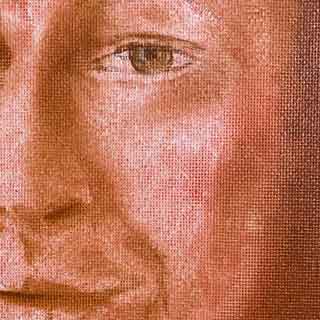
Paints: my paint choices were good. I’d add a couple of earth colours to my palette (raw umber, burnt sienna for grounds, they’re the cheapest colours too). If I really wanted to pare down I could have started with burnt umber, black and white. That’s all I’m using in my portraits.
Palette: bigger is better—I want to get a big glass one once I find a good spot for it.
Slow down: taking more time over the sketch is important (if you’re doing portraits). I think I’d be more relaxed if I had my materials laid out more methodically, but rushing in is fun too.
More brushes: I love filberts for oil paint (don’t use them at all with acrylics), and you literally can’t have too many. Details, like eyeballs in a portrait, require high quality brushes that don’t move paint much. I need to invest a few sables for those tight spots if I’m going to stick with portraits for a bit.
Also, when painting solvent-free you need more brushes (because cleaning isn’t a quick swipe of solvent away). If I stick with this for a while I’ll need multiples of my favourites.
Marble dust: I haven’t tried the marble dust yet. Every store was out of stock and when I finally found some they sent the wrong grind (coarse instead of fine) so I still haven’t tried it. I am so curious!
Oleogel: when I couldn’t get marble dust I thought I’d get a tube of this stuff. It’s a gel medium that’s a blend of silica (a finer powder than marble dust) and linseed oil. It appears to be semi-magical and do everything from create transparency to bulk paint up.
CLEANING BRUSHES
Cleaning brushes without solvent isn’t hard. I wipe as much paint off as possible. Then swirl the brush in some oil (walnut in my case). Wipe off the oil and for lightly used brushes that will be enough.
For a deeper clean swirl the brush in gentle soap (or a special brush soap). Remove excess on a rag or paper towel. Then wash out any remaining soap.
To keep brushes “wet” until the next session, I dip them in a little walnut oil and leave them horizontal in a tray.
There are lots of ways to do this, and I am clearly not an expert. The main thing to know is that solvents are not essential.
Next steps
I’m going to try a few tonal portraits to get a feel for things. I found an interesting series from British artist Will Kemp on how to do a tonal portrait where you focus just on lights and darks, no colour. It’s a classic academic exercise, I gather. That’s not how I want my self-portraits to be in the end, but I figured a classic approach would be a solid start. You know, learn the rules a bit before I go off breaking them.
We’ll see if I have the patience to stick with it. I’ve started and I’m surprised at how much fun it is. Realism has its delights—watching my nose take a 3-dimensional form on canvas is very satisfying.
I think that’s enough for now. If you’re oil-curious like I was, I hope this takes some of the mystery out of oil paint and gives you the courage to have a go.
I’ll write another instalment once I get a bit further with my oil paint explorations.
Thanks for reading!

Stay in touch
Sign up for first access to new work
(and never miss a blog post)
